Hardware virtualization is one of the most important features for Android emulators. It helps LDPlayer use the computer’s processor more efficiently. As a result, games run smoother, apps open faster, and system lag becomes much lower.
Without virtualization, LDPlayer can only use one CPU core in many cases. Because of this, users often face frame drops, freezing, slow loading times, and delayed controls during gameplay. Competitive mobile games especially need stable performance. Therefore, enabling virtualization becomes necessary for a better experience.
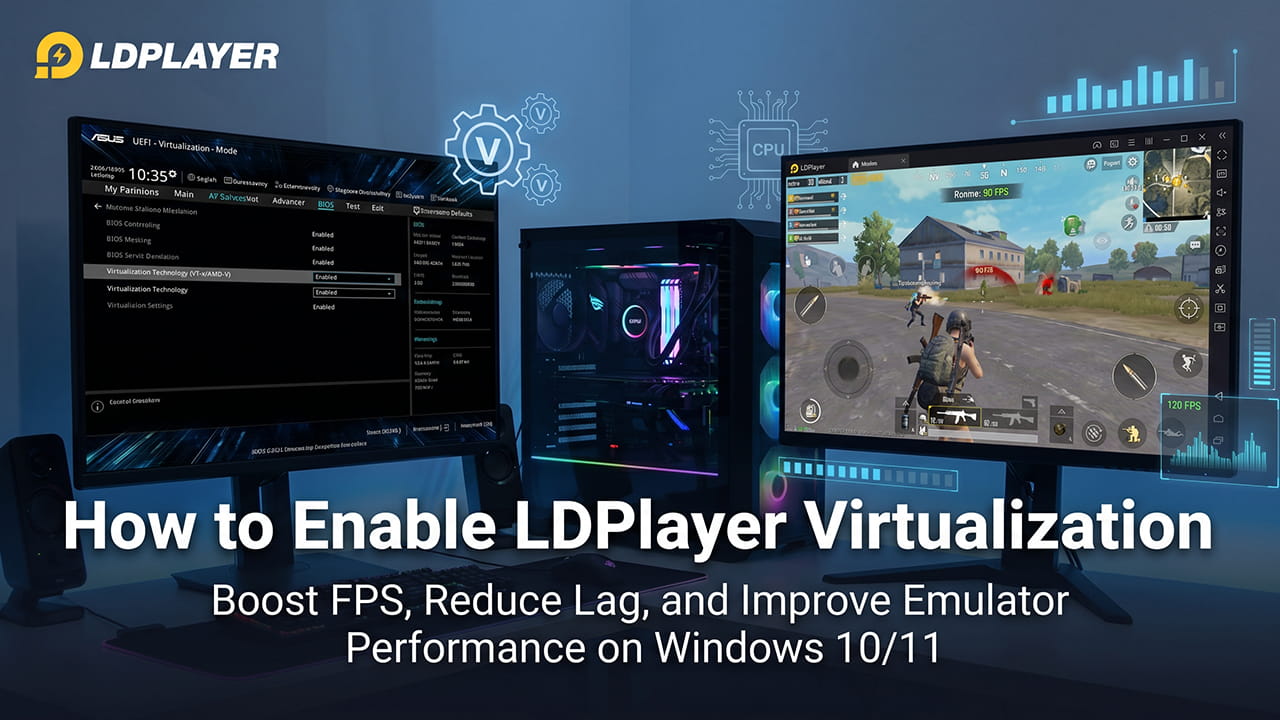
This guide explains How to Enable LDPlayer Virtualization on Windows 10 and Windows 11. It also explains how to fix common problems related to BIOS settings and Windows feature conflicts.
Why Virtualization Is Important for LDPlayer
Virtualization Technology, also called VT, allows LDPlayer to directly access the processor hardware. This gives the emulator permission to use multiple CPU cores and available RAM properly.
After enabling VT, users usually notice:
- Better FPS during gaming
- Faster app startup speed
- Less stuttering and freezing
- Better multitasking performance
- Improved emulator stability
- Smoother keyboard and mouse response
Modern Android games use a lot of system resources. Because of this, virtualization has become necessary instead of optional.
Step 1: Check Whether Virtualization Is Already Enabled
Before changing BIOS settings, first check whether virtualization is already active on the computer.
Open Task Manager
Press:
Ctrl + Shift + Esc
This opens Task Manager directly.
If the small window appears, click More Details at the bottom.
Next, follow these steps:
- Open the Performance tab
- Select CPU from the left side
- Look at the bottom-right section
- Find the line called Virtualization
Understand the Status
If It Shows “Enabled”
LDPlayer already has access to hardware virtualization. In this case, performance problems may come from:
- Old graphics drivers
- Wrong emulator settings
- Low RAM allocation
- Background programs
If It Shows “Disabled”
Virtualization is turned off in the motherboard firmware. Continue with the next steps to enable it.
Step 2: Enter the BIOS or UEFI Menu
Virtualization settings are controlled from the motherboard firmware. Windows itself cannot directly enable VT.
The system must restart into BIOS or UEFI mode.
Method A: Use the Keyboard Shortcut During Startup
This is usually the fastest method.
Steps
- Save all open files
- Restart the computer
- While the PC starts again, repeatedly press the BIOS key
The most common BIOS keys are:
DeleteF2
Some laptops may use:
F1F10ESC
The correct key depends on the motherboard or laptop brand.
Method B: Open BIOS Through Windows Settings
Some systems boot too quickly. Therefore, the keyboard shortcut may not work properly.
In that case, use Windows Advanced Startup.
For Windows 11
- Open Settings
- Go to System
- Select Recovery
- Find Advanced Startup
- Click Restart Now
For Windows 10
- Open Settings
- Go to Update & Security
- Select Recovery
- Click Restart Now under Advanced Startup
After the blue recovery screen appears:
- Select Troubleshoot
- Choose Advanced Options
- Click UEFI Firmware Settings
- Press Restart
The system will now enter BIOS or UEFI mode.
Step 3: How to Enable LDPlayer Virtualization in BIOS
The virtualization setting location depends on:
- Processor type
- Motherboard brand
- BIOS version
Intel and AMD systems use different names for virtualization.
Virtualization Names for Intel and AMD
Intel Systems
The feature may appear as:
- Intel Virtualization Technology
- VT-x
- VMX
AMD Systems
The feature may appear as:
- SVM Mode
- AMD-V
ASUS Motherboards
After entering BIOS:
- Press
F7to open Advanced Mode - Open the Advanced tab
- Select CPU Configuration
For Intel
Find:
Intel (VMX) Virtualization Technology
Change it to:
Enabled
For AMD
Find:
SVM Mode
Set it to:
Enabled
Finally:
- Press
F10 - Select Save Changes & Reset
- Press
Enter
MSI Motherboards
- Press
F7for Advanced Mode - Open the OC tab or Advanced tab
- Enter CPU Features
Intel Users
Enable:
Intel Virtualization Tech
AMD Users
Enable:
SVM Mode
Then:
- Press
F10 - Save settings
- Restart the system
Gigabyte Motherboards
- Press
F2orF7for Advanced Mode - Open the Tweaker tab or M.I.T.
- Select Advanced CPU Settings
Intel Systems
Enable:
Intel Virtualization Technology or VT-d
AMD Systems
Enable:
SVM Mode
After that:
- Open Save & Exit
- Confirm changes
- Restart the PC
ASRock Motherboards
- Press
F7to open Advanced Mode - Open the Advanced tab
- Select CPU Configuration
Find either:
Intel VT-xSVM Mode
Set the option to:
Enabled
Then:
- Press
F10 - Save the settings
- Restart the computer
Step 4: Disable Windows Features That Conflict With LDPlayer
Sometimes LDPlayer still reports VT as disabled even after BIOS changes. This happens because Windows reserves virtualization resources for its own features.
As a result, LDPlayer cannot fully access the hardware.
Disabling these features usually fixes the issue.
Features That May Cause Conflicts
| Windows Feature | Recommended Action |
|---|---|
| Hyper-V | Disable it |
| Virtual Machine Platform | Disable unless needed |
| Windows Sandbox | Turn it off |
| Core Isolation | Disable if problems continue |
How to Disable These Features
- Open the Windows Start Menu
- Type:
Turn Windows features on or off
- Press
Enter
A new window will appear.
Uncheck These Options
- Hyper-V
- Virtual Machine Platform
- Windows Sandbox
Click:
OK
Windows will apply the changes.
Finally, restart the computer.
Disable Core Isolation if Necessary
Sometimes Memory Integrity also blocks emulator performance.
Steps
- Open Windows Security
- Select Device Security
- Open Core Isolation
- Turn off Memory Integrity
Restart the system again after making changes.
Step 5: Optimize LDPlayer Performance Settings
After Windows restarts, check Task Manager again. The Virtualization status should now show:
Enabled
Once virtualization works properly, adjust LDPlayer settings for better gaming performance.
Change CPU and RAM Allocation
- Open LDPlayer
- Click the Gear Icon on the right side
- Open the Advanced or Performance section
Recommended CPU Setting
Select:
4 Cores
This works well for most mid-range and high-end systems.
Recommended RAM Setting
Allocate at least:
4096MB (4GB)
More RAM may help heavier games.
After changing settings:
- Click Save Settings
- Restart LDPlayer
Final Thoughts on How to Enable LDPlayer Virtualization
Learning How to Enable LDPlayer Virtualization can greatly improve emulator performance on Windows 10 and Windows 11. Once VT becomes active, LDPlayer can properly use CPU power and system memory. Because of this, games become smoother, loading speeds improve, and input delay becomes much lower.
Correct BIOS settings, proper Windows configuration, and balanced LDPlayer resource allocation together create the best emulator experience. Moreover, disabling unnecessary Windows virtualization features prevents hardware conflicts and improves stability.
For users who play competitive mobile games or run multiple emulator instances, virtualization is one of the most important performance settings available.