For many years, iTunes was the main tool people used to manage their iPhones on a computer. It helped users back up data, restore devices, transfer files, and update iOS. However, many users found iTunes slow, confusing, and sometimes difficult to use. Error messages often appeared without clear explanations, and many tasks required several extra steps.
Because of these issues, many iPhone users started looking for a simpler solution. One popular option is 3uTools. It is a free Windows program that gives users more control over their iPhones and iPads.
Unlike iTunes, 3uTools does not force users into a strict backup and restore process. Instead, it gives more flexibility. Users can create complete backups, make custom backups, and restore specific data when needed. This makes device management easier and more convenient. Here is the 3utools Beginner’s Guide for you to start using this tool more efficiently.
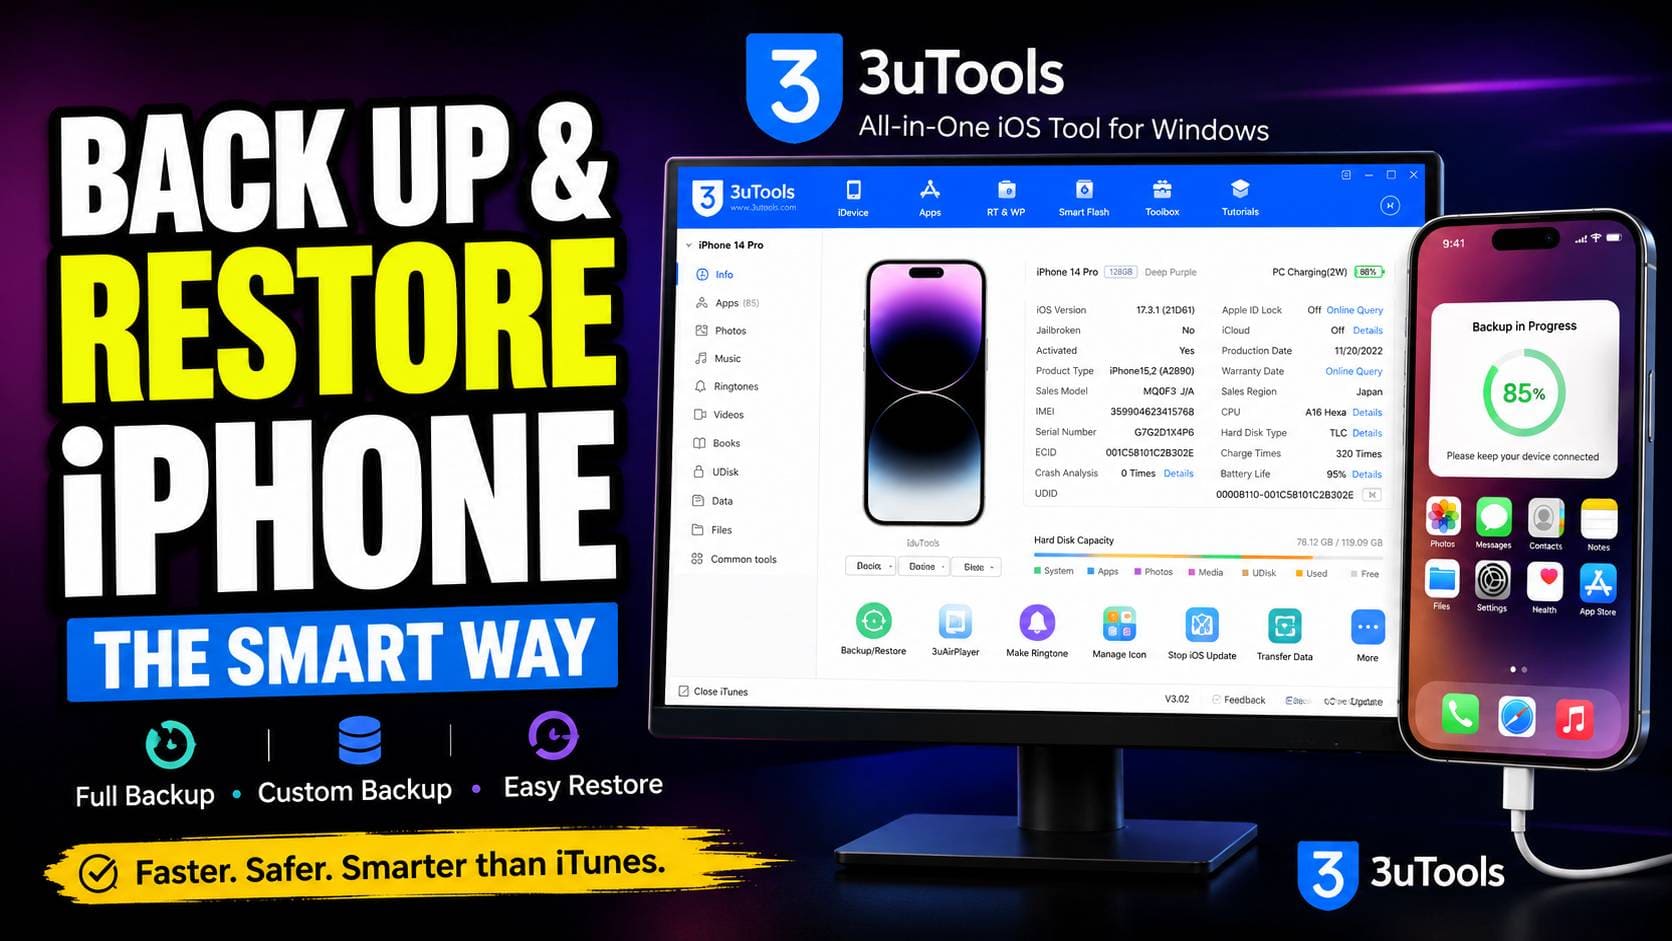
Why Use 3uTools Instead of iTunes?
One of the biggest complaints about iTunes is that it hides most of the backup process from the user. Usually, only a simple progress bar appears on the screen. As a result, users do not know exactly what is happening during the backup or restore process.
3uTools provides much more information and control.
Some important advantages include:
More Control Over Data
Users can choose exactly what they want to back up. For example, they can back up photos, messages, contacts, notes, or app data without backing up everything else.
Works with iTunes Backups
3uTools can recognize and manage official iTunes backup files. This means users can continue using older backups if needed.
Live Transfer Information
The software shows transfer speeds in real time. Users can see how fast data moves between the iPhone and the computer. This also helps identify slow USB cables or connection problems.
Separate App Management
Instead of creating one huge backup file, users can back up specific applications and their documents. This saves both time and storage space.
How to Create a Full Backup with 3uTools
Before starting, install the official version of 3uTools on a Windows computer. Also, connect the iPhone using an original Apple cable or an MFi-certified cable. A stable connection is important during the entire process.
Step 1: Connect the iPhone
Open 3uTools and connect the iPhone to the computer.
If this is the first connection, a message called “Trust This Computer” will appear on the iPhone screen. Tap Trust and enter the device passcode. This allows the computer and phone to communicate safely.
After a successful connection, 3uTools will display information about the device.
Step 2: Open the Backup Tool
Look at the top menu and click Toolbox.
Inside the Toolbox section, select Backup/Restore.
This area contains all backup and restoration functions.
Step 3: Set Backup Options
Before starting the backup, choose where the backup file will be stored.
Click Change next to the backup location and select a folder on the computer or an external hard drive. Make sure enough free storage space is available.
Users who want to save Health data, Wi-Fi passwords, account passwords, and other protected information should enable Backup Encryption.
After enabling encryption, create a secure password.
Important Warning
Never forget the backup encryption password.
Apple does not provide a reset option for local encrypted backup passwords. If the password is lost, neither Apple nor 3uTools can recover the encrypted backup file.
Step 4: Start the Backup
Click Backup Now.
The software will begin collecting data from the iPhone and creating the backup file.
During this process:
- Keep the iPhone connected.
- Do not disconnect the cable.
- Avoid restarting the computer.
- Do not close 3uTools.
When the process finishes successfully, a confirmation message will appear on the screen.
How to Restore Data Using 3uTools
Restoring data is useful when moving to a new iPhone, recovering from software problems, or bringing back lost information.
Step 1: Choose a Backup File
Open Toolbox and go to Backup/Restore.
Click Restore Data.
3uTools will automatically search for available backup files stored on the computer. It can also detect backups originally created through iTunes.
A list of backups will appear in order by date.
Select the backup file that contains the data you want to restore.
Step 2: Disable Find My iPhone
Before restoring, open the iPhone and go to:
Settings > [Your Name] > Find My
Turn off Find My iPhone temporarily.
Apple’s security system blocks many system-level changes when Find My iPhone is enabled. Disabling it allows the restoration process to complete correctly.
Step 3: Start the Restore Process
Click Restore Now.
A confirmation message will appear showing what data will be restored.
Review the information and confirm the operation.
The iPhone may restart during the process. Eventually, the standard iOS recovery screen will appear.
Keep the cable connected until the phone completely returns to the lock screen.
Disconnecting the device too early may interrupt the restoration.
Customized Backup: A Powerful Alternative
Sometimes a full backup is unnecessary.
Many users only need certain files such as photos, contacts, messages, notes, or call history. Creating a full backup in these situations can waste storage space.
For this reason, 3uTools includes a Customized Backup feature.
This feature allows users to select only the data categories they want to save.
Full Backup vs Customized Backup
| Feature | Full Backup | Customized Backup |
|---|---|---|
| Storage Usage | High | Low |
| Backup Size | Matches used device storage | Saves selected items only |
| Speed | Depends on total data size | Usually much faster |
| Restore Method | Often replaces existing data | Can merge selected data |
| Best For | New devices and major updates | Photos, messages, contacts, and specific files |
To use this feature, choose Customized Backup instead of Full Backup.
The software will scan the device and display different categories.
Users can select or remove categories such as:
- Photos
- Contacts
- Notes
- Call History
- Messages
- App Data
After making selections, start the backup process normally.
Fixing Common 3uTools Backup Problems
Most backup and restore problems are caused by connection issues, damaged files, or iOS security settings. In most cases, the software itself is not the problem.
The following solutions can help resolve common errors.
Error: Connection Timeout or Error Code -20
This problem usually points to an unstable USB connection.
Try the following:
- Disconnect the iPhone.
- Move the cable to another USB port.
- Use a rear motherboard USB port if using a desktop computer.
- Avoid USB hubs.
- Use an original or certified cable.
After reconnecting, run the backup again.
Error: Insufficient Storage Space
3uTools checks available storage before creating a backup.
Make sure the selected drive has enough free space.
A good rule is to keep at least 10% more free space than the amount of storage currently used on the iPhone.
For example, if the iPhone uses 100 GB of storage, the destination drive should have at least 110 GB available.
Backup Stops at 99%
This issue often happens when the software encounters a damaged photo, video, or media file inside the device storage.
Do not disconnect the iPhone immediately.
Instead, leave the device connected for another 10 to 15 minutes.
In many cases, 3uTools can skip the damaged file automatically and finish creating the backup successfully.
Final Thoughts
3uTools offers a simple and flexible way to back up and restore iPhone data without relying entirely on iTunes. It gives users more control, more visibility, and more backup options. Full backups protect the entire device, while customized backups allow users to save only the information they need.
For users who want easier backup management, faster access to data, and more control over the restoration process, 3uTools provides a practical alternative to the traditional iTunes workflow.